Setting up Prostay Pay means creating a payments account in your business's name and proving that the business and the person signing up are real. It takes one sitting if you have the paperwork to hand, and it is the only part of the module you cannot do a little at a time and come back to with a guest waiting at the desk.
What to have in front of you
The wizard asks for all of this and will not finish without it:
- Your legal business name, exactly as it appears on your tax registration.
- Your tax identification number, and your company registration number if you have one.
- The registered business address and a business phone number.
- The name, date of birth, home address, email and phone number of the person signing up.
- A photo identity document for that person, as a file you can upload.
- The name, email and ownership percentage of everyone who owns a quarter of the business or more.
- The bank account you want to be paid into, including whichever routing detail your country uses.
Starting the wizard
Before an account exists, Prostay Pay in the module switcher opens on a description of the product rather than a dashboard, and the sidebar holds nothing but Dashboard.
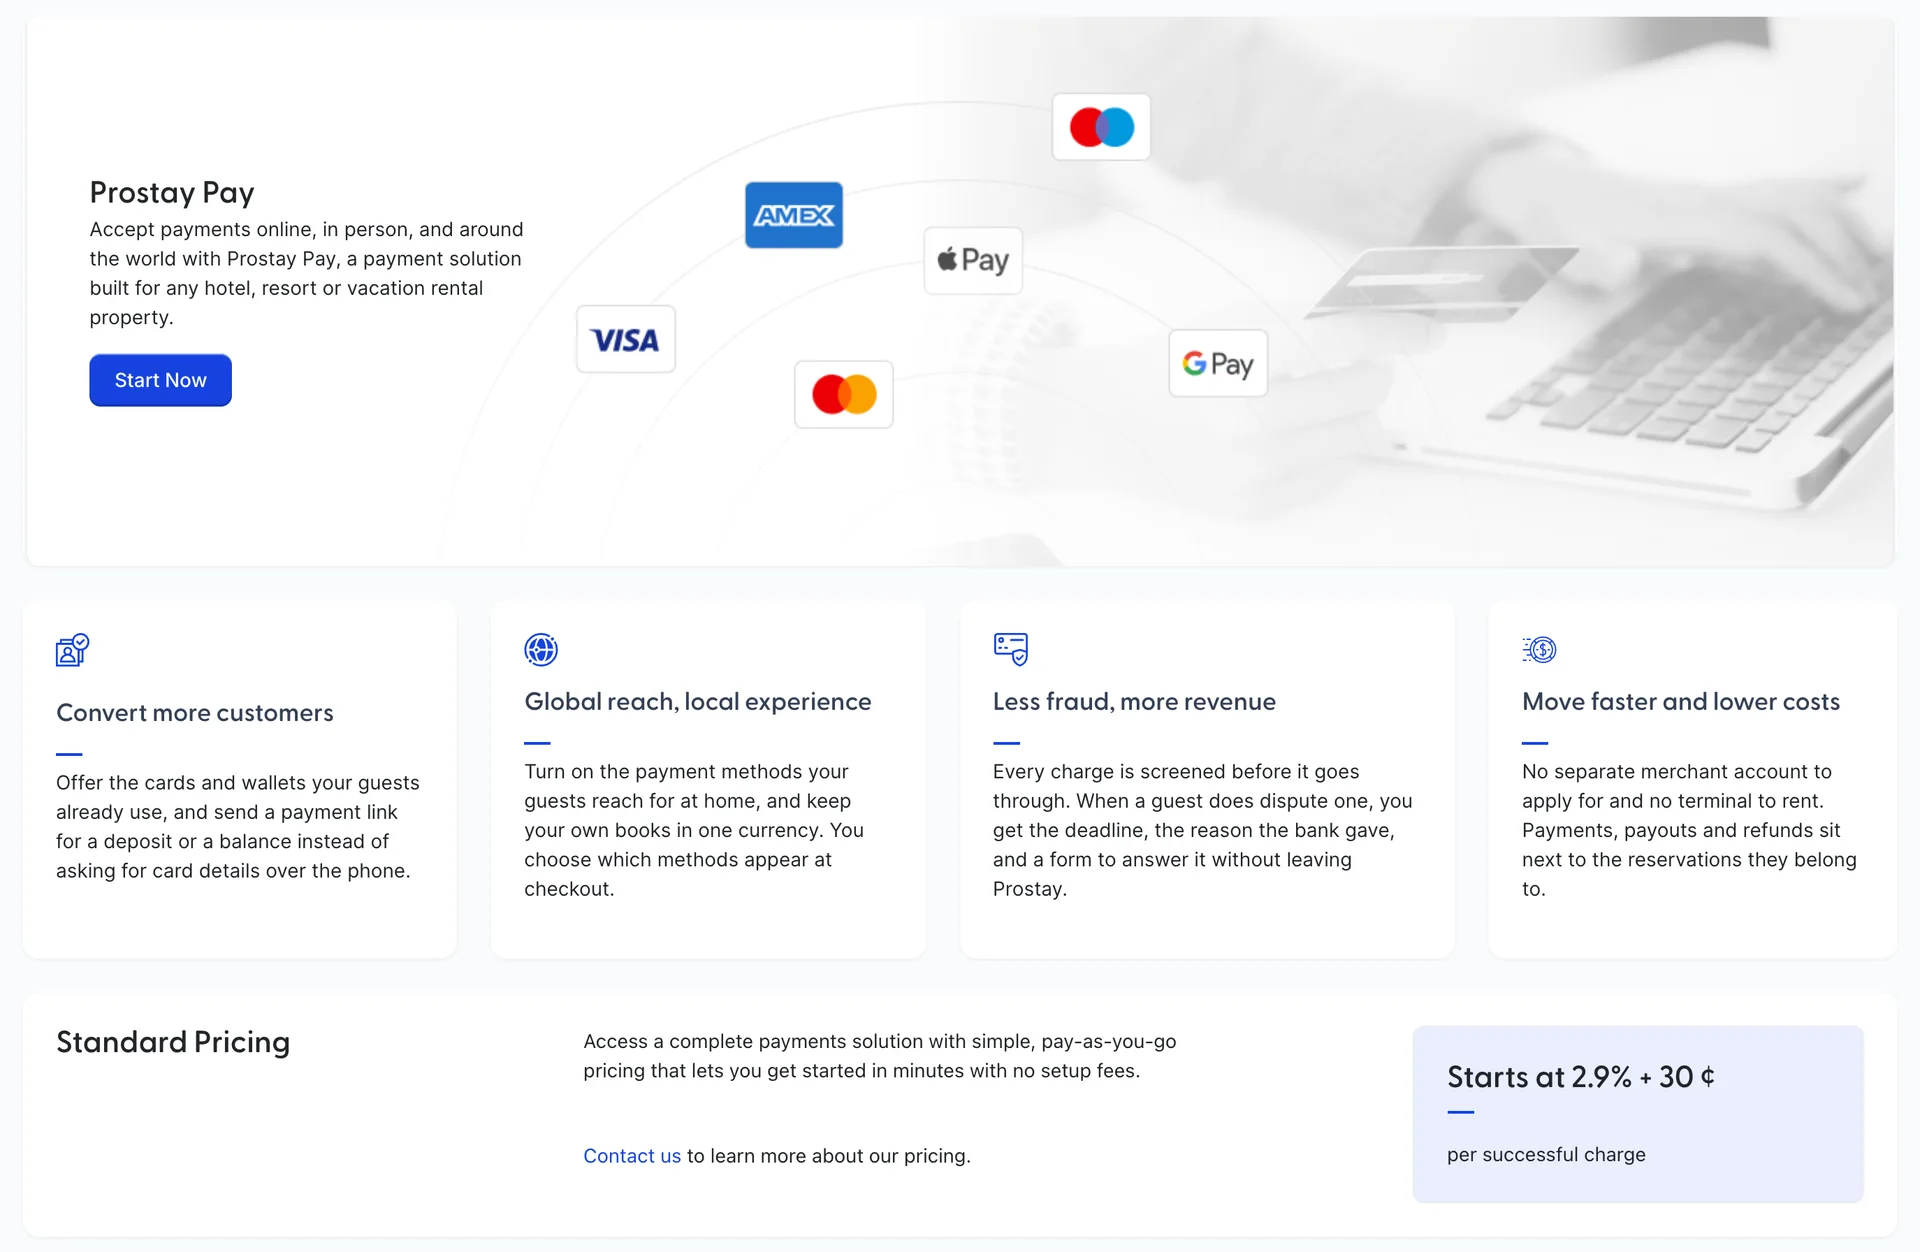
Start Now opens the wizard. Nothing is created by clicking it, and you can leave and come back: the wizard saves each step as you confirm it, and reopens on the first one you have not finished.
How the six steps behave
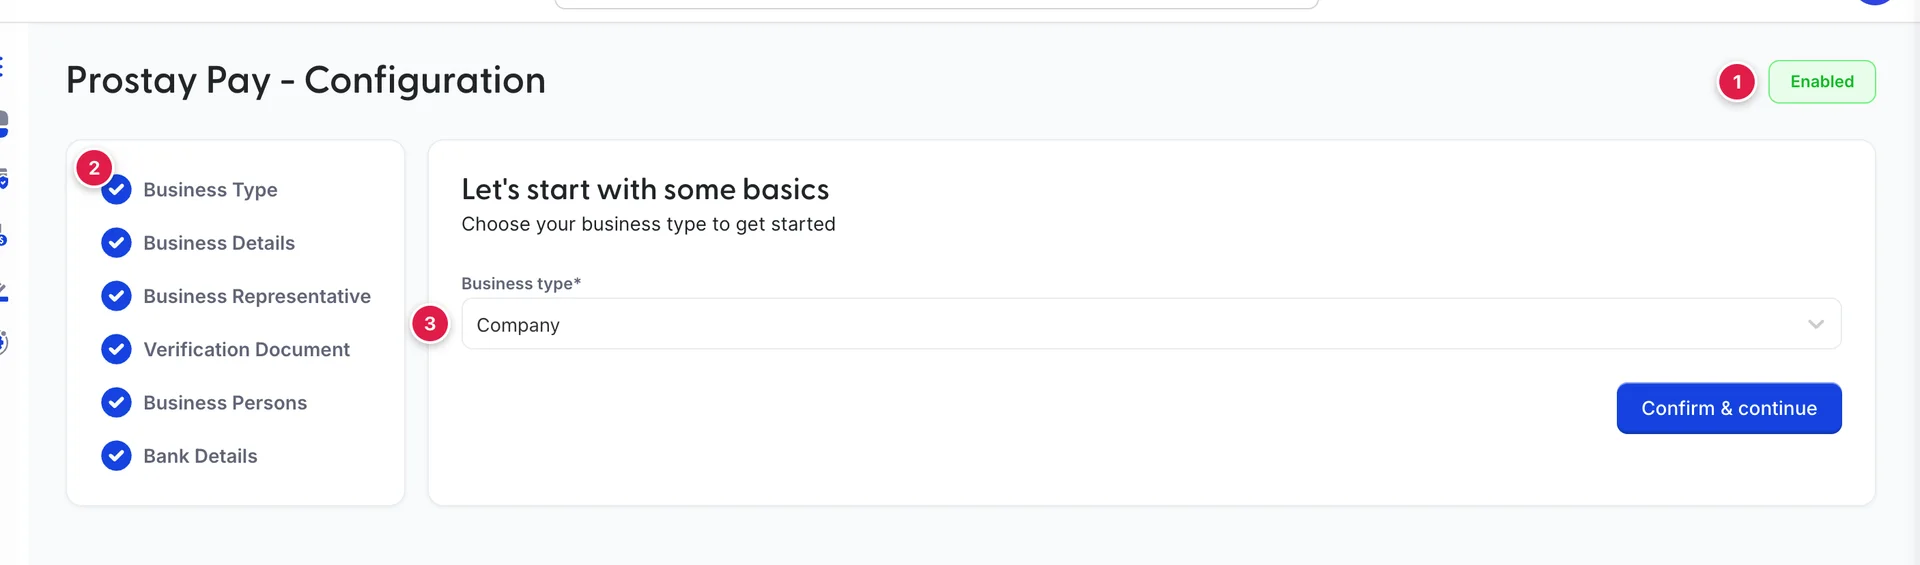
The rail on the left is the whole wizard. A step shows its number until it has everything it needs, then shows a blue tick. The number turns blue while you are on that step. Clicking any entry in the rail jumps straight to it, including forward, so you can fill the bank details before the owners if that is the order the paperwork arrives in.
The badge at the top right reads Enabled once payouts have been turned on for the account and Disabled until then. It tracks payouts specifically, not how much of the form you have filled in, so it can still read Disabled after every step shows a tick, while the account is still being checked.
Step 1: Business Type
One picker, offering Individual and Company. Choose the one that matches how the business is registered where you pay tax, not how large it is: a single-owner hotel registered as a limited company is a company.
This choice changes what the later steps ask for, so getting it wrong means redoing them. The step is marked complete as soon as a type is stored on the account.
Step 2: Business Details
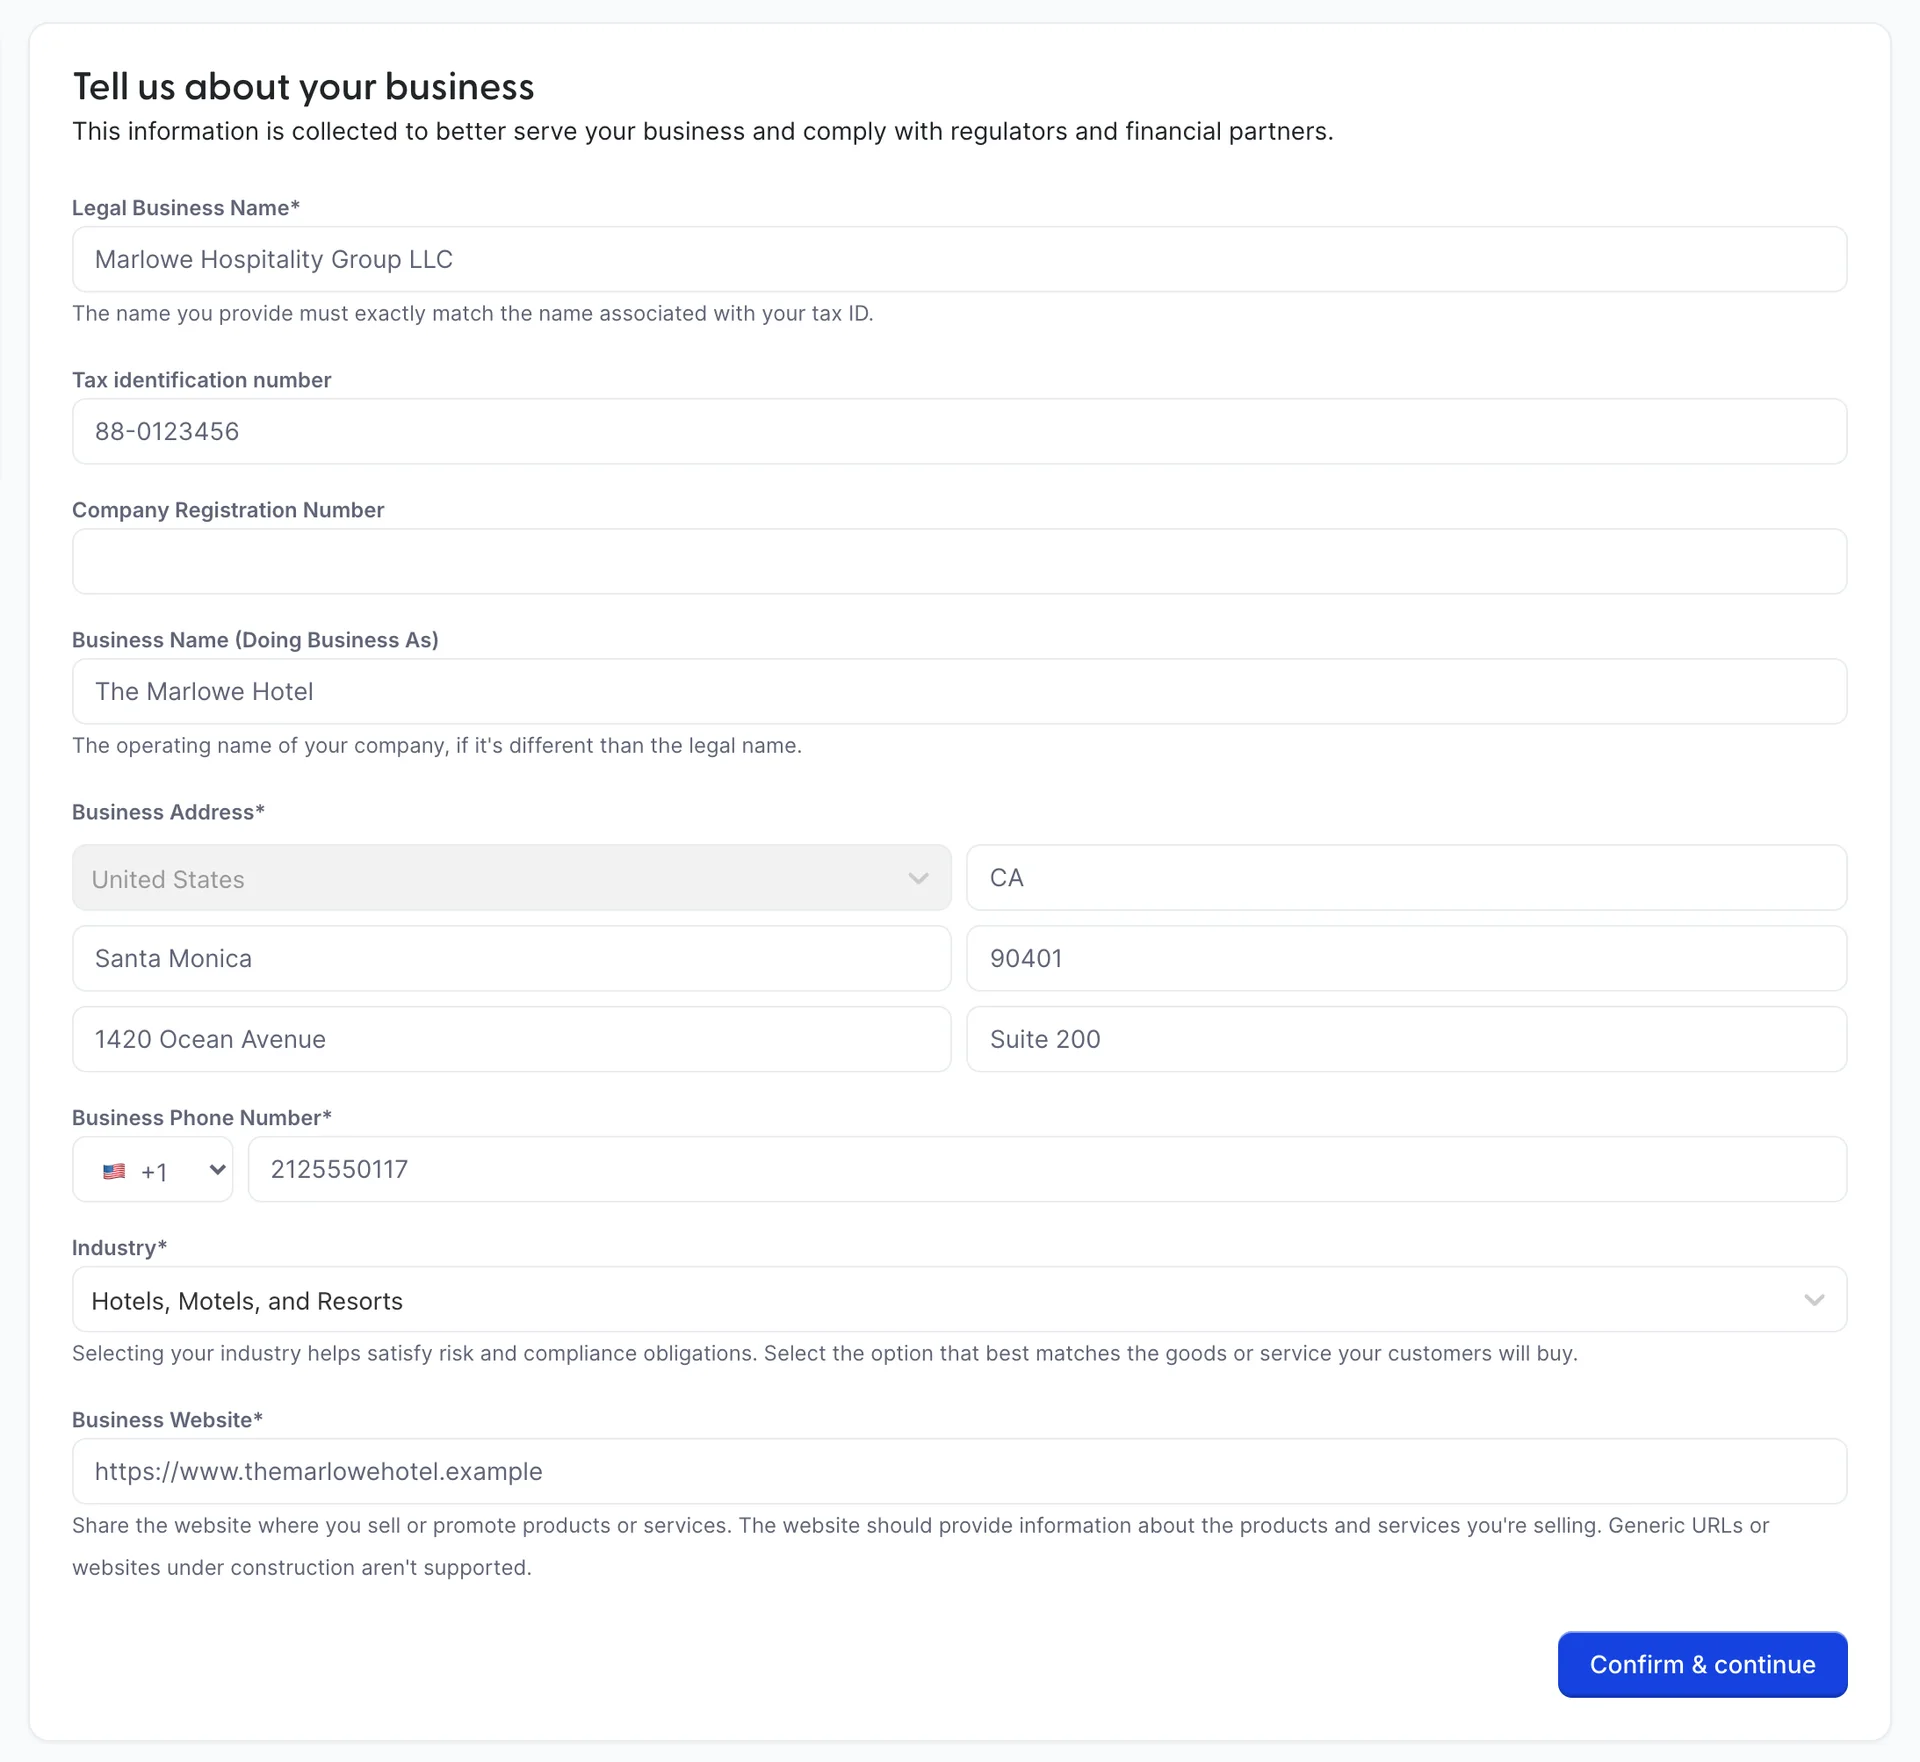
| Field | What it does and what goes wrong |
|---|---|
| Legal Business Name | Required. The screen's own note says it must exactly match the name associated with your tax ID. A trading name typed here instead of the registered one is the most common reason an account sits unverified. |
| Tax identification number | Your tax reference for the business. For a US company this is the EIN. |
| Company Registration Number | The number the company register holds, where your country issues one separately from the tax number. |
| Business Name (Doing Business As) | The operating name, if it differs from the legal one. This is the one to put the hotel's name in when the company is called something else. |
| Business Address | Required. Country, then state or region, city, postal code and two address lines. The registered address, not the front desk, if the two differ. |
| Business Phone Number | Required. A dialling code picker sits in front of the number, so type the number without the country code. |
| Industry | Required. A long list of trade categories; Hotels, Motels, and Resorts is the one most properties want. It feeds risk and compliance checks, so pick the category that matches what guests are actually buying rather than the closest-sounding name. |
| Business Website | Required. The screen warns that generic URLs and sites under construction are not supported, so a domain parked with a placeholder page will hold the account up. Point it at a page that describes the property and what it sells. |
Step 3: Business Representative
Headed Verify you represent this business. This is the person held responsible for the account, and the screen is explicit about who qualifies: an executive, a senior manager, or someone who otherwise has significant responsibility for the control and management of the business. A receptionist setting the account up on the owner's behalf is not the representative; the owner is.
It asks for first and last name, email, job title, date of birth, phone number, home address and a personal identification number. Three more controls sit under those: a tick for I own 25% or more of the company., a Percent Ownership box, and a yes or no answer to “Are you the only person who owns 25% or more of the company?”. Answer all three honestly, because step five is built from them and a wrong answer here is what leaves an owner off the account.
Step 4: Verification Document
Headed Verify your identity, and it wants a photo of a valid identity document for the representative from step three. The screen restates the two things the document has to match: the legal name and the date of birth you just entered. A passport whose surname predates a marriage will fail against a married name typed in step three.
Upload the file and the step shows Provided. It is reviewed after you finish the wizard rather than while you wait, so a tick here means the file arrived, not that the identity is verified.
Step 5: Owners
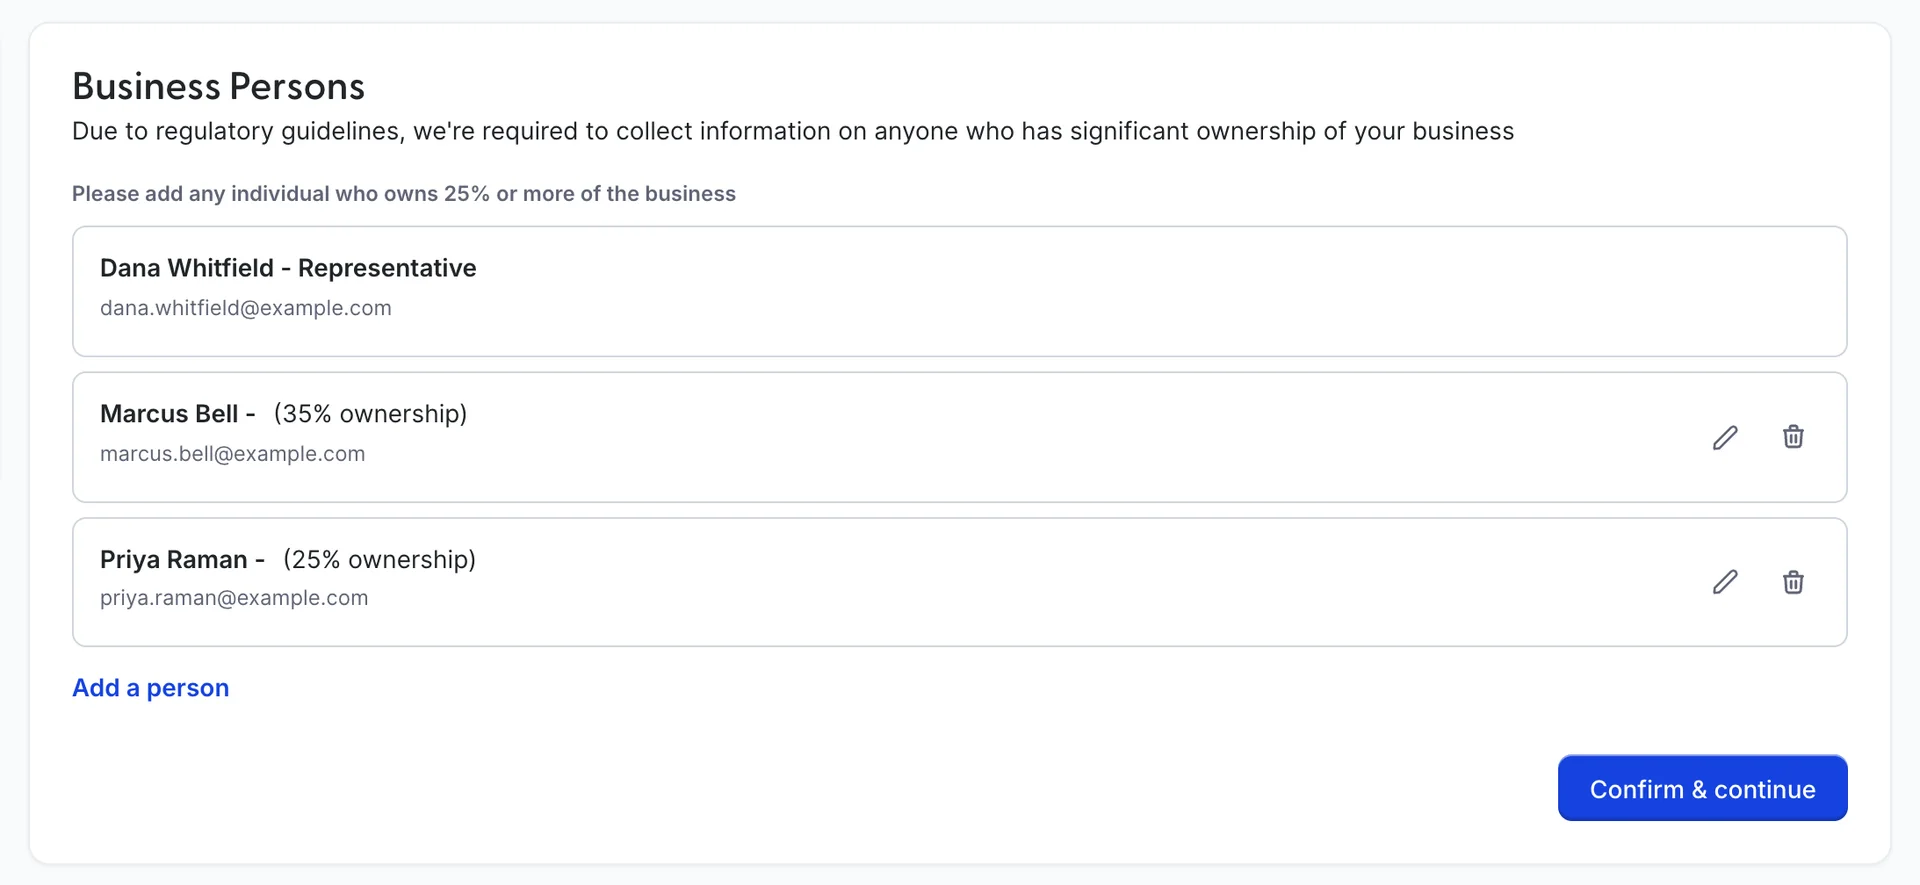
Headed Business Persons. The representative from step three is already in the list. Add a person opens a panel for each of the others, asking for a role, name, email, job title, date of birth, phone number, home address and their ownership percentage.
The role picker offers Owner and Director. Which of them is required depends on where the business is registered: in the United Kingdom, Ireland, Australia, New Zealand, Singapore and most of the European Union, directors must be listed as well as owners, and the panel asks for them accordingly. In the United States the requirement is owners at 25 percent or more.
Leaving someone out does not fail loudly. The wizard finishes, the account is created, and payouts stay off until the missing person is added, which is a slow and confusing way to discover the omission. List everyone the first time.
Step 6: Bank Details
This is where your money goes. Read the numbers off a bank statement rather than from memory, and check them again before confirming.
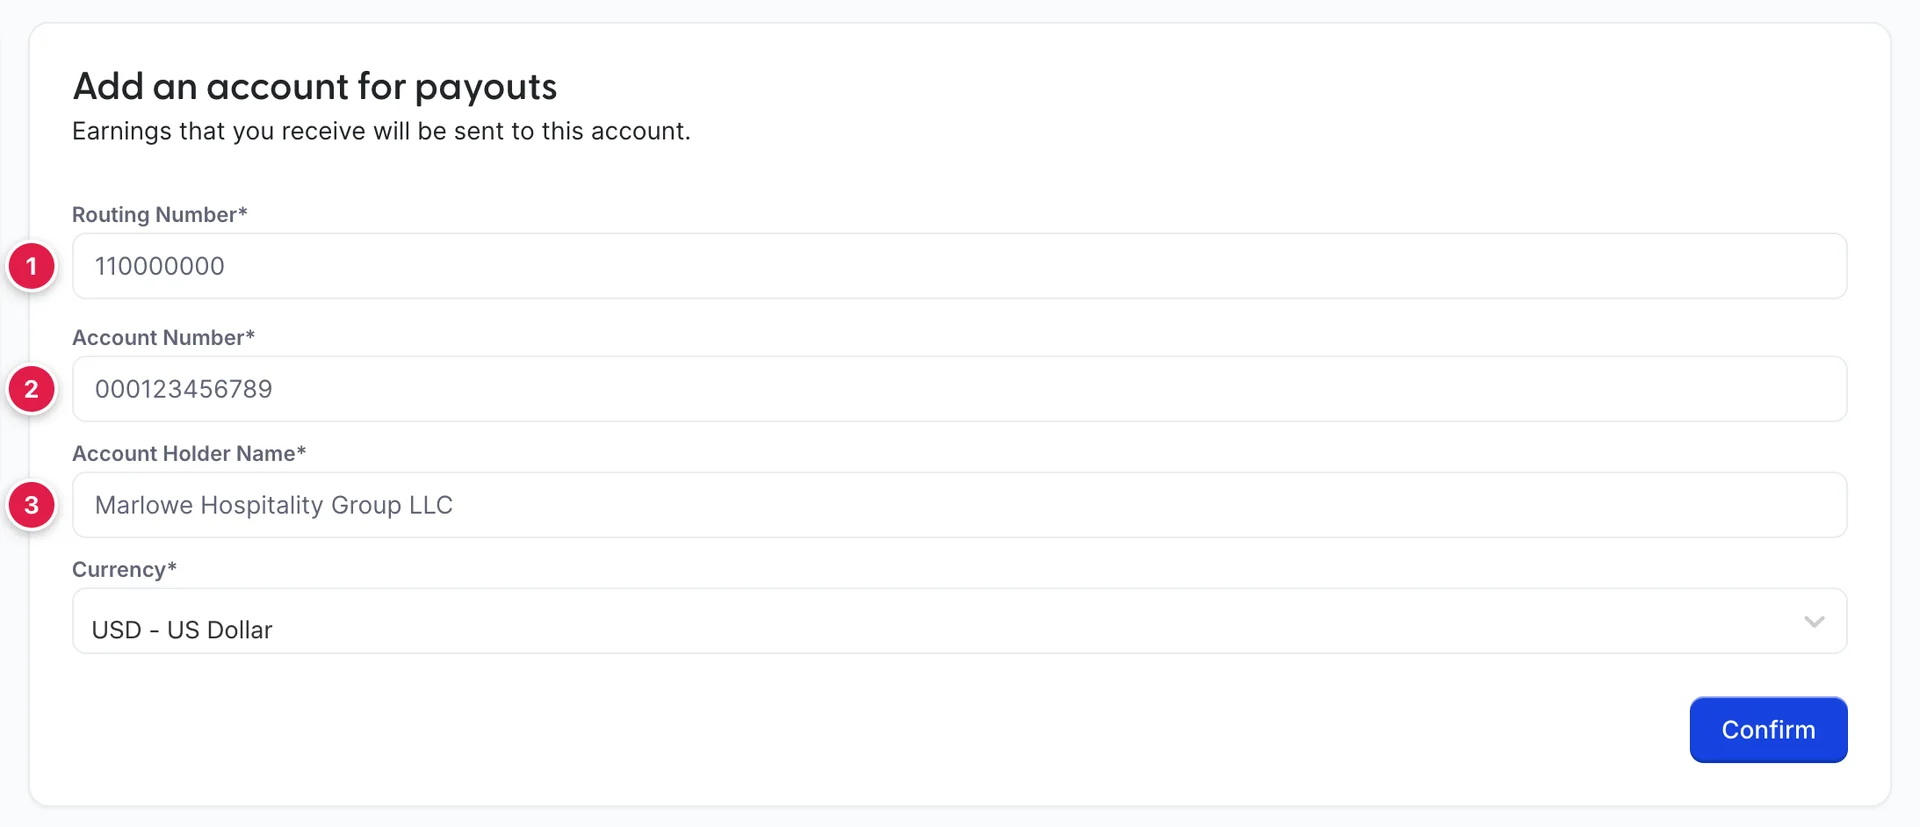
The routing detail depends on the country the payments account is registered in, and the wizard swaps the fields accordingly:
| Country | Fields asked for, besides the account holder name and currency |
|---|---|
| United States | Routing Number and Account Number |
| United Kingdom | Sort Code and Account Number |
| Australia | BSB Number and Account Number |
| Canada | Transit Number, Institution Number and Account Number |
| Hong Kong | Routing Number and Account Number |
| Everywhere else | A single IBAN |
Account Holder Name is the name the bank has on the account. Where the bank holds the registered company name, use that, even if the hotel trades under something shorter.
Currency is the currency payouts are made in. It has to be one your bank account can receive; an account that only takes one currency will bounce a payout in another, and the money comes back days later.
If Confirm is greyed out on a step you have filled in completely, your role does not include the permission for onboarding. An administrator can add it from Users in System Settings, under Prostay Pay › Onboarding. It is a reasonable right to keep narrow, since this wizard decides where your money lands.
After you finish
Confirming the last step sends the account for review. Two things change once it comes back enabled: the sidebar fills in with the other fifteen destinations, and the dashboard starts showing figures instead of the product description.
Everything you entered stays editable. Settings then Account Details reopens the same six-step wizard with your answers in it, which is where you go to change the bank account, add an owner who has just bought in, or correct a business address after a move.
When the account asks for more
The review can come back asking for something the wizard did not ask for up front: another document, a clarification, a person you did not list. When it does, a Requirements panel appears above the six steps with a count, and expanding it lists each outstanding item. Errors, where something you submitted was rejected rather than merely missing, are listed in the same panel in red.
Payouts stay off while anything is outstanding. Charges can sometimes still go through, which is the trap: money comes in, the badge reads Disabled, and nothing reaches your bank until the panel is empty. If the badge says disabled and you cannot see why, that panel is the first place to look.
Once the account is enabled, the day to day use of it starts on the reservation, where a card is stored, charged and refunded.