Nobody books a hotel room they have not seen. Before a guest reads your carefully written description, before they compare your rates, before they check a single review, they have already scrolled your photos and made the decision their rational mind will spend the next ten minutes justifying. Eye-tracking studies of booking behaviour keep finding the same thing: whether guests are browsing an OTA listing or your own hotel website, images get the first fixation, the longest fixation and the most repeat visits of any element on the page. Photography is not decoration for a hotel listing. It is the listing.
Yet hotel photography is one of the most underinvested lines in the average property's marketing budget. Rooms shot on a phone in mixed lighting a renovation ago, a restaurant represented by one dim plate of pasta, a pool photographed in drizzle, and a gallery ordered by upload date rather than by intent. This guide is the antidote: a complete, practical walk through what to shoot, how to prepare, what to pay, what the OTAs demand, and how to make the resulting photos work as hard on your own website as they do on Booking.com.
Why Photography Decides Bookings Before Words Do
The economics are blunt. On OTA search results, the thumbnail is most of the click decision: platforms have repeatedly published that better lead photos lift click-through by double-digit percentages, and Expedia has reported that properties with high-quality galleries can achieve measurably higher conversion and average daily rates. On your own website the effect is stronger still, because the visitor is closer to a decision and the gallery is the closest thing to walking the property. A better photo set raises conversion at every step of the funnel simultaneously, which almost no other single investment does.
Photography also does quiet work on price positioning. Guests calibrate what a room should cost from what it looks like, and a sharp, bright, honestly styled photo set moves a property up the quality scale in the guest's mind before any rate comparison begins. The same room, photographed twice, books at two different prices. Revenue managers spend their days on pricing strategy, and the photo gallery either supports every one of those decisions or quietly undermines them.
And there is the trust dimension. Photography is a promise the front desk has to keep. Photos that flatter beyond honesty produce arrival disappointment, and arrival disappointment produces the reviews that cost far more than the extra bookings the flattering photos won. The goal of hotel photography is not to make the property look better than it is; it is to make it look exactly as good as it is, which almost no property currently achieves.
The Hotel Photography Shot List
Every successful shoot starts with a written shot list, agreed before anyone unpacks a tripod. Without one, photographers default to what photographs well rather than what sells rooms, and you end up with fourteen artistic corridor shots and no picture of the bathroom. The list below is the skeleton; adapt the proportions to what your property actually earns money from.
Guest Rooms: One Hero, Three Supports
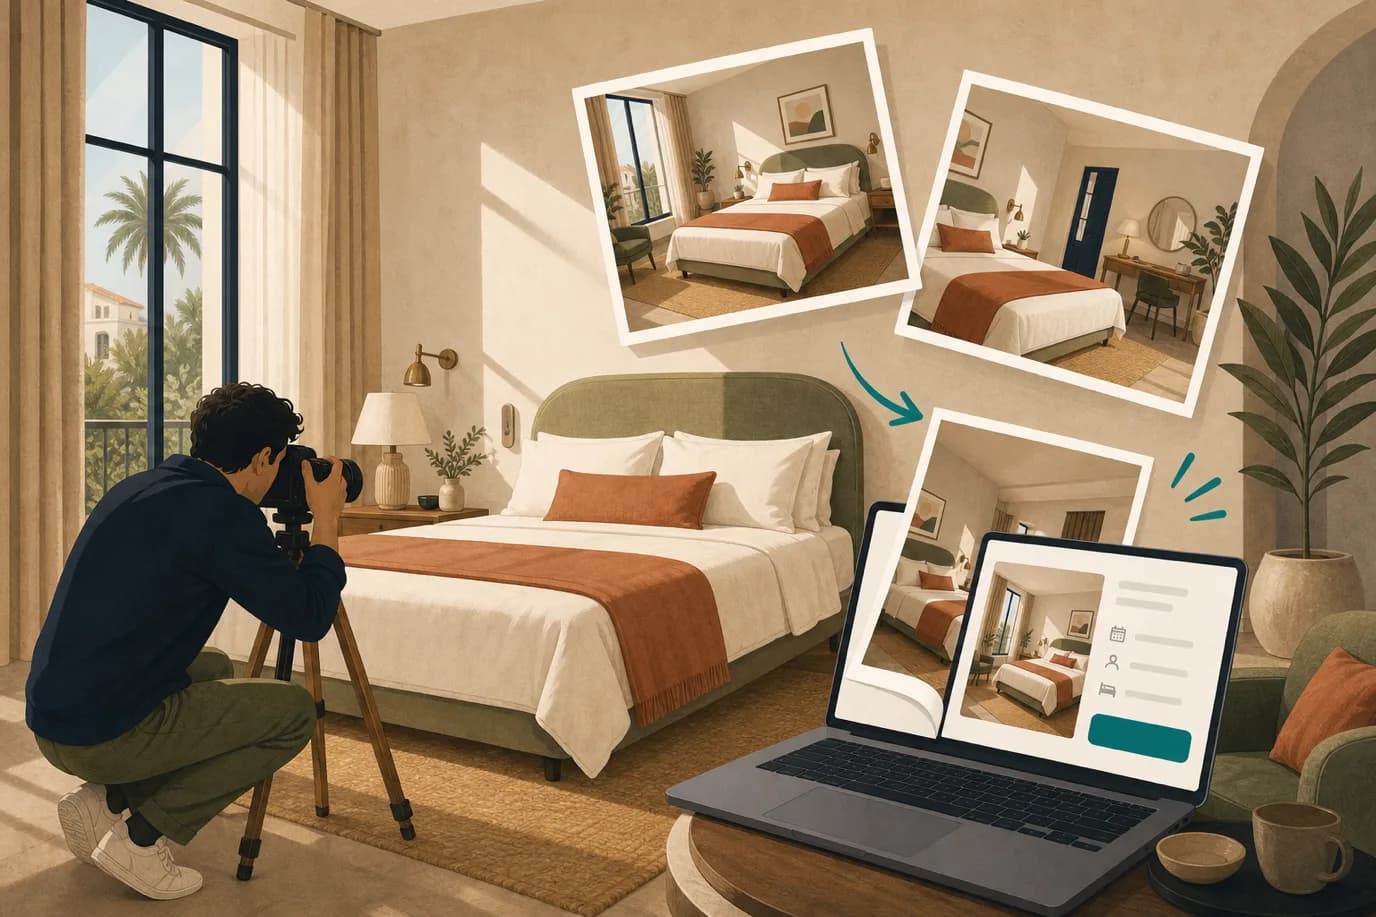
For each room type you sell, you need one hero shot and three to five supporting images. The hero is the wide, corner-shot view that shows the bed, the window and the sense of space in a single frame; it will lead the room's gallery everywhere and be seen ten times more than any other image of that room. The supports fill in what the hero cannot: the bathroom, always, because its absence is read as concealment; the view from the window if it is any good; the desk or seating area; and one detail that carries the property's personality, the headboard fabric, the coffee setup, the balcony chair.
Shoot every room type you sell separately, even when they differ only slightly, because guests booking a Superior want to see the Superior, and a gallery where three room types share photos trains guests to distrust all three. If your room types differ by view or floor rather than furniture, photograph the difference itself. This is also where photography meets operations: the room photos on your website and OTA listings should map one-to-one to the room types in your PMS, so what the guest books is what the guest gets.
Public Spaces, Food and the Details Guests Zoom Into
Beyond the rooms, the list runs: the facade in good light, plus the dusk shot with interior lights glowing, which is the most booked-looking exterior image a hotel can own; the lobby and reception, styled and peopled or empty but never half-staged; the breakfast room in service light with an actual breakfast on an actual table; the bar, the terrace, the pool from an angle that shows its real size; the garden, the gym, the spa if you have them. Food deserves genuine attention, because breakfast photos are scrutinised at zoom level and a single appetising spread outperforms a dozen shots of empty tables.
Finish with details and location. Details are the close-ups that communicate care: folded towels, the local soap, the good coffee machine, fresh flowers that are actually fresh. Location shots place the property in its world, the street, the beach two minutes away, the old town view, because guests book neighbourhoods as much as buildings. Aim for a finished library of 60 to 100 images for a full-service hotel, and remember that the first five images in any gallery do most of the work, so choose and order them like a shop window rather than an archive.
Preparing the Property: Styling Before Shooting
The difference between an amateur-looking photo and a professional one is made mostly before the camera arrives. Photography is unforgiving of clutter that the eye forgives in person: the cable behind the television, the mismatched hanger, the slightly crooked lampshade, all of it becomes permanent and prominent at 2560 pixels wide. Budget half a day of styling per shoot day, and give housekeeping the brief in advance rather than on the morning.
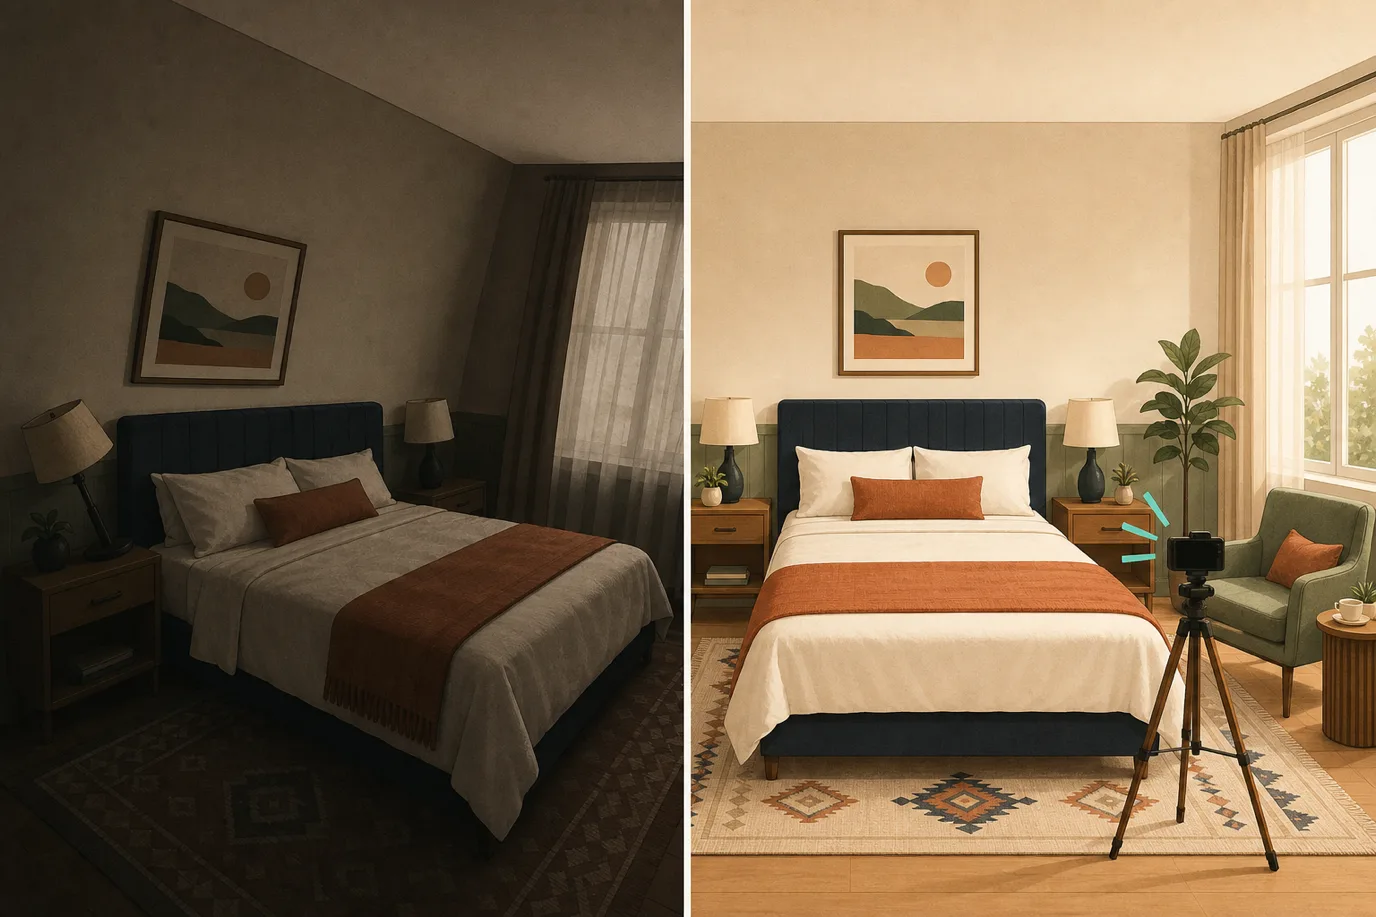
The room checklist is mechanical and worth writing down. Bedding ironed or steamed, because wrinkles photograph like neglect; pillows karate-chopped or squared to the house style, consistently across every shot; all lamps on and every bulb the same colour temperature, since one cool bulb in a warm room ruins the frame; cables hidden, bins removed, tissue boxes and signage out of frame; bathroom dry, chrome polished, toilet lid down, towels folded to a uniform edge. Add one or two life signals per frame, a book, a tray, two glasses, but stop well before it looks staged. The test is whether the photo looks like the fifteen minutes after a perfect turndown, not like a furniture catalogue.
Decide deliberately whether to include people. Lifestyle shots with models raise emotional temperature and suit resorts and leisure properties; empty frames read calmer and suit business and design-led hotels. If you use staff as models, get written releases, and if you use guests, never shoot them recognisably without consent. Whatever you choose, be consistent, because a gallery that alternates between peopled and empty frames feels assembled rather than curated.
Professional vs DIY: What to Hire Out and What to Shoot Yourself
Interiors are one of the hardest disciplines in photography: extreme contrast between windows and shadows, mixed light sources, converging vertical lines, and small spaces that need wide lenses without wide-lens distortion. A professional interior photographer solves these with a tripod, exposure blending and tilt correction, and the difference is visible to guests even when they cannot name it. For the core set, the heroes, the public spaces, the images that lead every listing, hire a professional every two to four years and treat the invoice as revenue infrastructure, not marketing decoration.
Expect to pay roughly 800 to 3,000 euros or dollars depending on market and scope, and read the rights clause before the price. You want full commercial usage across web, OTA, print and advertising, ideally in perpetuity; some photographers price low and license narrow, which surfaces as a surprise invoice the day your new brochure prints. Ask for delivery in high-resolution originals plus web-optimised versions, and confirm who owns the raw files.
Everything else is honestly yours to shoot. Seasonal refreshes, social media, the new cake in the cafe, the snow on the terrace: a modern phone handles these well if you follow a few rules. Clean the lens, use the main camera rather than the ultra-wide, shoot at chest height with vertical lines straight, never use digital zoom, and take every shot in landscape as well as portrait so you have both crops later. The professional set is the backbone; the phone keeps the library breathing between shoots.
Technical Basics: Light, Height and Lines
Whether the camera costs two hundred or ten thousand, the same three variables decide the result. First, light: shoot rooms when their windows receive indirect light, mid-morning or mid-afternoon on the shaded side, because direct sun blows out the window and buries the room in contrast. Turn every lamp on for warmth, but make sure the bulbs match. For exteriors, golden hour flatters facades, and the dusk shot with lit windows is worth staying late for every single time.
Second, height and angle: interiors photographed from eye level look like snapshots, because that is where snapshots are taken from. Drop the camera to chest height, roughly 120 to 140 centimetres, keep it perfectly level, and shoot from a corner to show two walls and the depth of the room. Third, lines: vertical edges, door frames, wardrobes, windows, must be vertical in the frame. Converging verticals are the single fastest amateur signal in interior photography, and every phone and editing tool now corrects them in one gesture, so there is no excuse left.
Editing for Honesty and Consistency
Editing has two jobs: consistency and honesty, in that order. Consistency means the whole gallery feels like one property photographed by one eye on one day, even when it was not. Match white balance so the whites are white in every frame, keep exposure and contrast in the same range, straighten every line, and apply the same restrained treatment across the set. A gallery where one room glows orange and the next glows blue reads as carelessness, and guests transfer the impression directly onto the housekeeping.
Honesty is the constraint that keeps editing from becoming fiction. Brighten shadows, correct colour, remove the fire-exit sign reflection if you must, but do not widen rooms, do not replace grey skies with blue ones on the day photo, and do not clone the neighbouring building out of the view your guest will see at check-in. The line is simple: edit what the camera got wrong, never what the property has. Over-edited photos win the click and lose the review, and reviews compound.
OTA Photo Requirements and Ordering
The OTAs are explicit about what they want, and meeting the spec is free ranking assistance. Booking.com requires at least 1280 pixels on the shortest side and recommends 2560 by 1707 or larger, JPEG, no watermarks, borders or text overlays. Expedia recommends 2880 by 1920 and requires a landscape hero. Both crop automatically to different ratios across their apps and sites, so keep beds, faces and focal furniture away from the frame edges. Airbnb, if you list there, heavily rewards galleries of twenty-plus bright horizontal photos with an interior lead image.
Two operational details matter more than most hotels realise. First, assign room photos to the specific room types in the extranet rather than dumping everything into the general gallery, because room-level mismatch is a top source of arrival complaints. Second, curate the lead image per channel and revisit it quarterly: the photo that wins in your OTA thumbnail, small, crowded, competing in a grid, is often not the atmospheric wide shot that leads your website beautifully. Treat the first five images on each channel as a separate merchandising decision, informed by what each platform's guests book.
Image SEO: Making Photos Work on Your Own Website
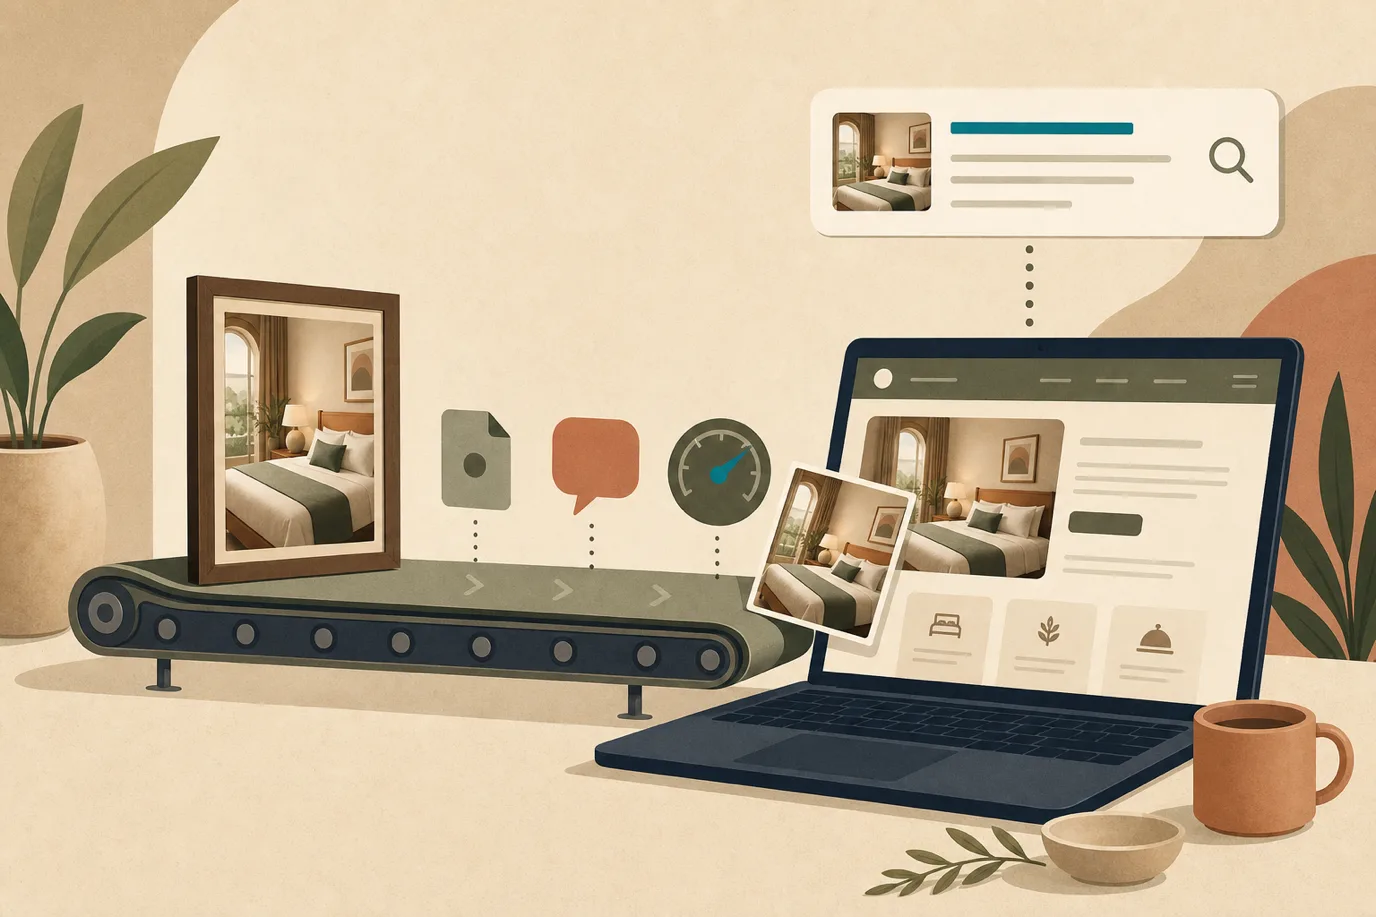
On the OTAs your photos compete inside someone else's machine. On your own website they can also earn traffic, if the technical layer lets them. The basics: descriptive file names, so garden-suite-balcony-seaview.webp rather than IMG_4382.jpg; alt text that describes the image in a sentence a screen reader could speak, which serves accessibility first and search second; modern formats such as WebP or AVIF at sensible compression; explicit width and height attributes so the page does not jump while loading; and lazy loading for everything below the first screen. Oversized images are the number one reason hotel websites fail speed tests, and speed is a ranking factor with a direct line to conversion.
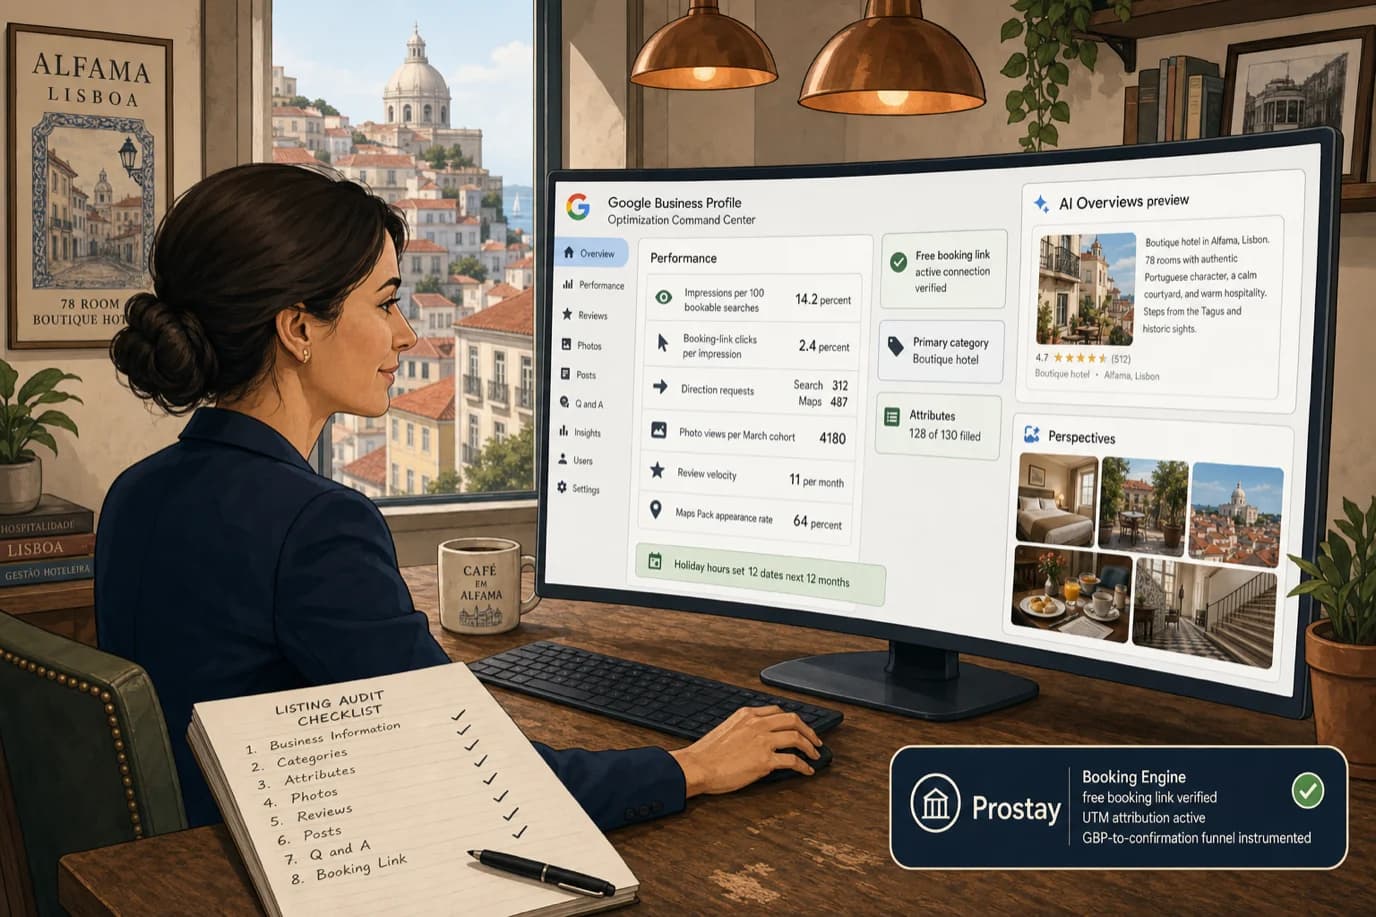
Done right, images also feed your structured data, appear in Google's image search and hotel panels, and make the property pages that hotel SEO works so hard to rank actually convert once visitors arrive. This is also a place where your platform should carry the load rather than adding to it. Websites built with Prostay Instant Site compress and convert images automatically, serve them in modern formats with correct dimensions, and generate the structured data and sitemaps around them, so the photography investment flows straight into pages that load fast and rank without a specialist touching a line of markup.
Managing the Photo Library: Naming, Rights and Reuse
The shoot is an event; the library is an asset, and most hotels manage it like a downloads folder. Set up a single source of truth, one shared drive or DAM folder structure, organised by area and room type, with originals and web versions separated. Name files descriptively at import, because a photo you cannot find is a photo you do not own, and six months after the shoot nobody remembers what DSC_0417 contains. Keep a simple rights register alongside: who shot what, what the licence covers, when model releases were signed, and when anything expires.
Then reuse deliberately. The same hero shot should appear on your website, your OTA listings, your Google Business Profile, your booking confirmation emails and your social profiles, in the correct crop for each, because repetition across channels is how a property becomes visually recognisable. Audit quarterly: pull up your listings on every channel as a guest would see them, and check that the photos are current, correctly assigned and led by the strongest frame. Properties are routinely shocked by what their own Expedia gallery has silently become. When photos change, the update should flow everywhere from one place; centralising the property's photo library inside your platform, the way Prostay ties images to room types once and reuses them across the booking engine and website, removes the version drift that otherwise creeps in per channel.
How Often to Reshoot, and What to Refresh In Between
A full professional reshoot belongs on the calendar every two to four years, and immediately after any renovation, rebrand or meaningful furniture change. Between reshoots, keep the library alive with seasonal sets, the terrace in summer, the fireplace in winter, the breakfast when the menu turns, shot in-house on a phone with the discipline from this guide. The test for staleness is honest and cheap: stand in the room, hold up the photo, and ask whether a guest would notice the difference. If yes, the photo is costing you bookings tonight.
Photography rewards hotels asymmetrically. It is a bounded, one-time effort with a multi-year life, and it lifts every channel at once: OTA click-through, website conversion, direct booking trust, review sentiment at arrival, even the confidence with which you can price. Few investments in this industry compound like that. Write the shot list this week, book the photographer for the right light, and give the results a website that does them justice; if that last part is the missing piece, the Instant Site product page shows how fast your new photos can be live on your own domain, and a demo will show you the rest of the machine behind it.